Using Codespaces
Codespaces Introduction
GitHube Codespaces allows us to run a limited Linux container in the Cloud. You will have a VS Code-like environment in your browser, with a Python Debugger, working terminal, and so on.
Starting the Codespace
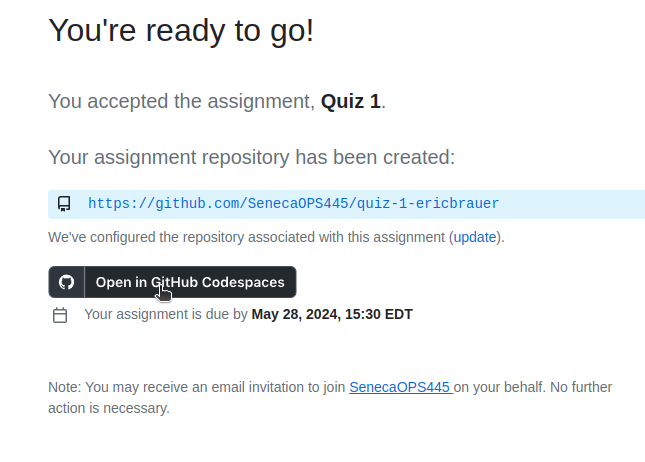
- Use the link given to you by your instructor. You will be asked to Accept the assignment, same as your labs.
- Instead of Cloning your repo, click on the black button that says Open As Codespace.
- You should see a loading screen. Please wait and allow the Codespace to launch.
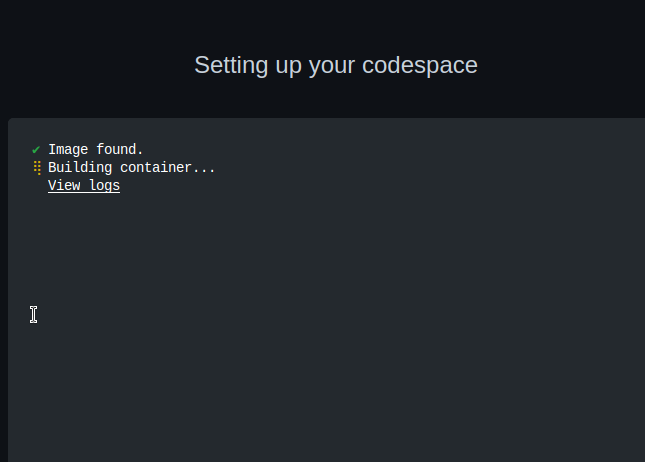
If your Codespaces fails to load, please see the section Starting a Codespace Manually below.
Committing Your Changes
Your assessment repo should be auto-committing your changes as you go. No saving or committing should be necessary. You can verify this by checking the Source Control icon on the left side of your Codespace window:
If you see a number, please be patient and wait for about a minute. The number should disappear on its own.
If the number doesn't disappear, please see the section Committing Manually below.
Return to your repository landing page and reload it. Verify that your script file has been changed. It should look like this:
If no recent change is detected, you will have to commit manually.
Starting A Codespace Manually
If the codespace doesn't start when you click the "Open As Codespace" button, you can start it manually from the repository landing page.
- Find the green Code button on the repository landing page. It is the same button you use for cloning.
- Click the tab that says Codespaces.
- Click the plus sign to start a new codespace.
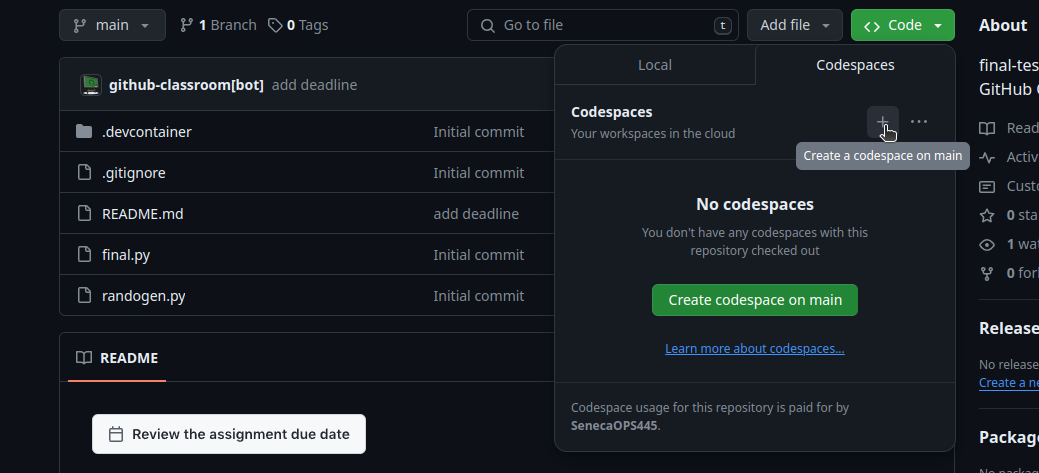
- If you get a message about the page being, blocked, refresh the repository landing page.
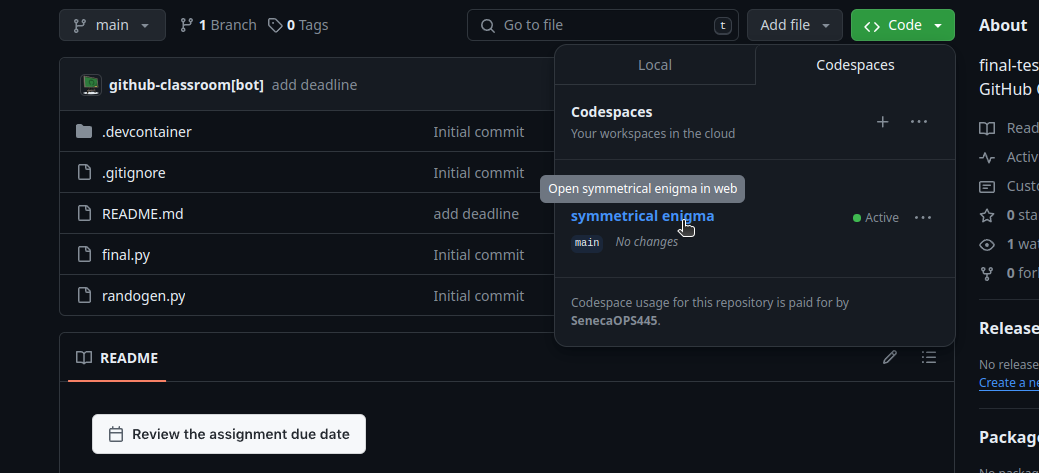
- Click the green Code button again. You will see an active codespace with a randomly generated name. Click on it to launch the codespace.
Committing Manually
If you see a number next to the Source Control icon that doesn't go away, you can make a manual commit.
- Click on Source Control icon. You will see a list of uncommitted files. If your Python script is not in this list, then no further commits are necessary and you can stop reading.
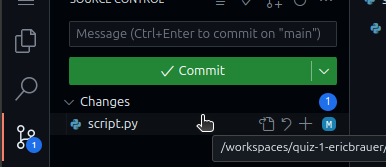
- If you do see your Python script in this list (for example,
script.pyin the screenshot above), then click on the plus sign + next to the file. - Enter a commit message in the text box. For example: "finished quiz". If you do not enter a commit message, the next step will not work.
- Click the Commit button. If a dialog box appears, accept the default value and continue.
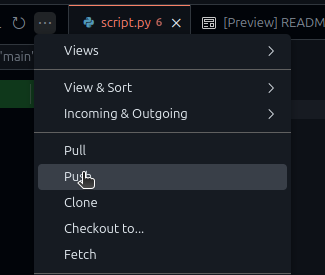
- You will now need to push. Click the button with three dots. Find the option to Push.
- If you encounter an error, notify your instructor immediately.
If You're Unable To Log Into GitHub
- Launch MyApps
- Launch Python 3.12. Wait for the File Explorer Window to appear.
- Launch VS Code 1.82. Make sure this is VS Code, and not Visual Studio!
- In VS Code, install the Python Extension.
- In VS Code, create a new file. Name it script.py.
- After saving this file, ensure that a Python Debugger is specified at the bottom of your screen. If not, close VS Code and launch Python again.
- After completing your file, attach it to your test using the paperclip icon. Click inside the text box to make the icons appear.