Interest Topic: Graphical Linux via a Virtual Machine (VM)
Installing Linux and Live Linux and Virtualization
Main Objectives of this Practice Tutorial
- Download and install the VirtualBox VM software application
- Download and run the Ubuntu VirtualBox file in a virtual machine
- Open a terminal and connect to your Matrix account via the ssh utility
- Run several open-source applications in your graphical Ubuntu Linux environment
Tutorial Reference Material
Course Notes
Concepts
Installing Linux
Ubuntu Resources
Instructional YouTube Videos:
Key Concepts
Installing Linux
Having a Linux system on your home computer provides access to a large selection of open source software.
Installing your own version of Linux on your notebook or desktop computer also can make it easier to practice working in the Linux environment and learn how to perform routine Linux OS administration tasks.
A Linux distribution (often abbreviated as distro) is an operating system made from a software collection that is based upon the Linux kernel and, often, a package management system. Linux users usually obtain their operating system by downloading one of the Linux distributions, which are available for a wide variety of systems...
Reference: https://en.wikipedia.org/wiki/Linux_distribution
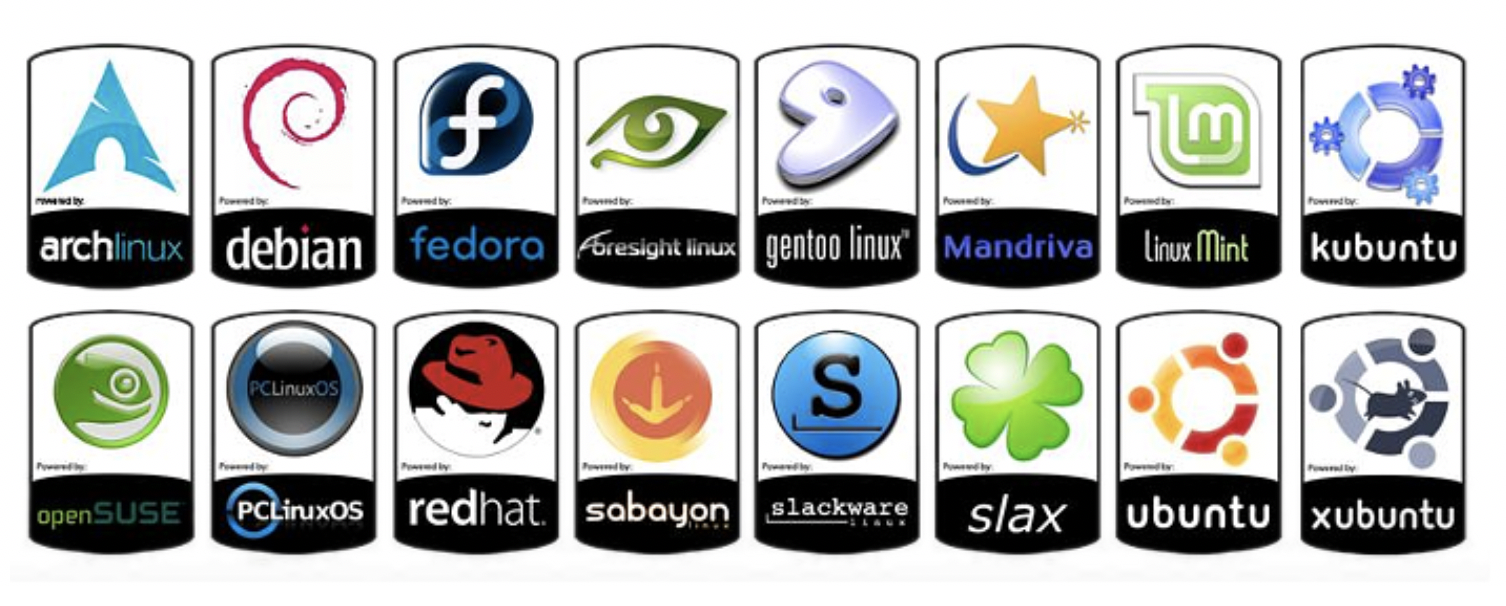
Listing of Common Linux Distributions. (Image licensed under cc)
Steps in the Linux Installation Process:
- Select a Linux Distribution to download (ISO image file or VM file).
- Create VM and install Linux Distribution or run VM file.
Linux Installation Methods
Standalone Installation
- Linux is the only OS on the computer.
- Any existing data on your hard disk will be erased.
Linux is the only OS on the computer (Image licensed under cc)
Dual-boot / Multi-boot Installation
A boot menu allows the user to select the desired OS.
Advantages of Dual-Boot or Multi-Boot:
- This option provides a method to access your computer if one OS fails to boot-up.
- Access the Windows partition if your Windows OS cannot boot-up.
- This booting method is great for troubleshooting (for example: boot into Linux OS to eliminate a hardware issue).
Installation Tips:
- It is recommended to back up important data before proceeding.
- It is recommended to install the Linux OS last, as other operating systems may not offer a multi-boot option.
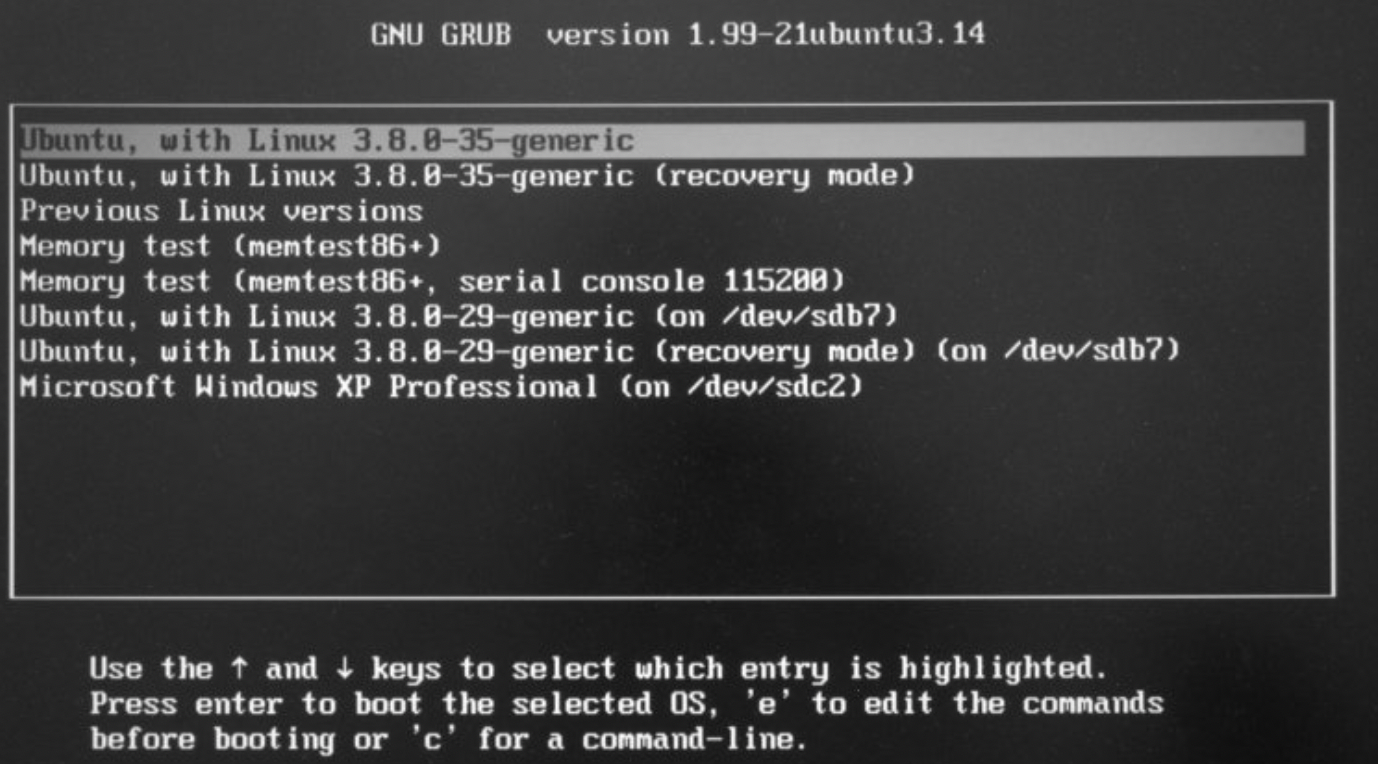
The grub boot menu to select different operating systems upon computer startup. (Image licensed under cc)
Virtual Machine Installation
Virtualization is the process of running a virtual instance of a computer system in a layer abstracted from the actual hardware. Reference: https://opensource.com/resources/virtualization
The virtualized OS is installed and run in a window under another OS. Special software is used to manage the entire process, referred to as the hypervisor.
Advantages of Virtualization:
- You can run VM from an ISO image file or a VM file.
- One or more virtual machines can be run at the same time.
- The guest OS shares hardware with the host OS and possibly other virtualized systems.
- The guest systems have network access through the host.
Installation Tips:
- Virtualization requires a compatible processor: not all processors support that feature.
- Your BIOS should be set to enable Virtualization.
- Popular VM software for Windows, Apple and Linux OS include:
- VMware
- Oracle Virtual Box
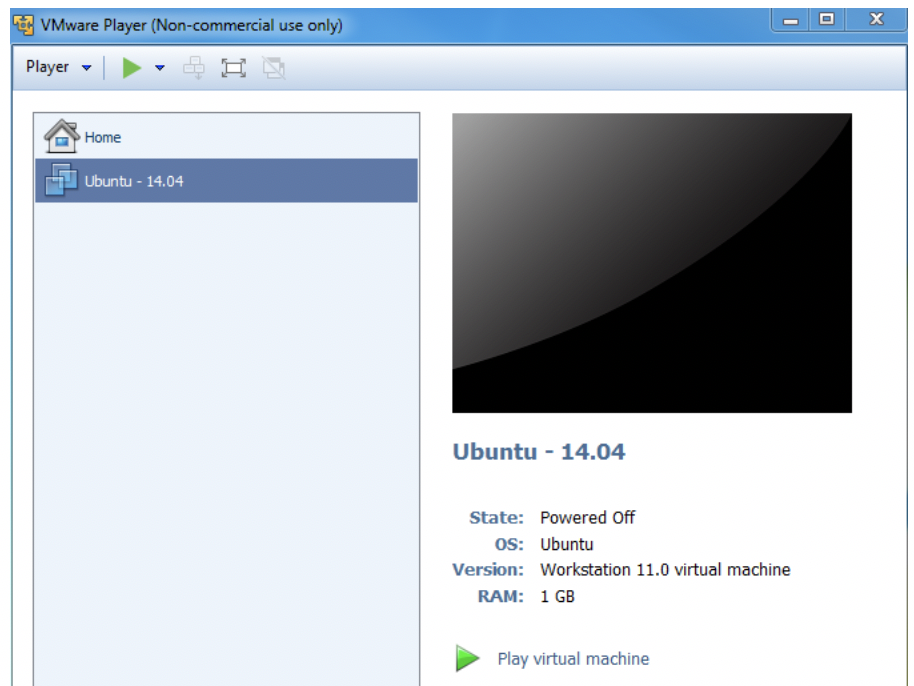
VMware Player launch menu for Ubuntu Linux OS (Image licensed under cc)
Live Linux CD
A live CD (also live DVD, live disc, or live operating system) is a complete bootable computer installation including operating system which runs directly from a CD-ROM or similar storage device into a computer's memory, rather than loading from a hard disk drive. A Live CD allows users to run an operating system for any purpose without installing it or making any changes to the computer's configuration.
Reference: https://en.wikipedia.org/wiki/Live_CD
Knoppix is a popular Live Linux CD Distribution. (Image licensed under cc)
Investigation 1: Booting Ubuntu (Live Linux) Via VirtualBox
ATTENTION: This tutorial relates to an interest topic and is NOT worth marks.
In this investigation, you will first download and install the VirtualBox VM application on your home computer, then you will then download and unzip the Ubuntu VM file to your computer.
You will then launch the VirtualBox application by double-clicking the downloaded VirtualBox VM. Once you launch the Ubuntu Linux distribution, you will learn in INVESTIGATION 2 to perform a few basic operations in the Ubuntu Linux graphical Linux environment.
Perform the Following Steps:
ATTENTION: If you receive an error message indicating that your computer is NOT set to handle virtualization, you need to enable virtualization in your notebook’s BIOS.
- Click the following link to access the Oracle Virtualbox application download website: https://www.virtualbox.org/wiki/Downloads
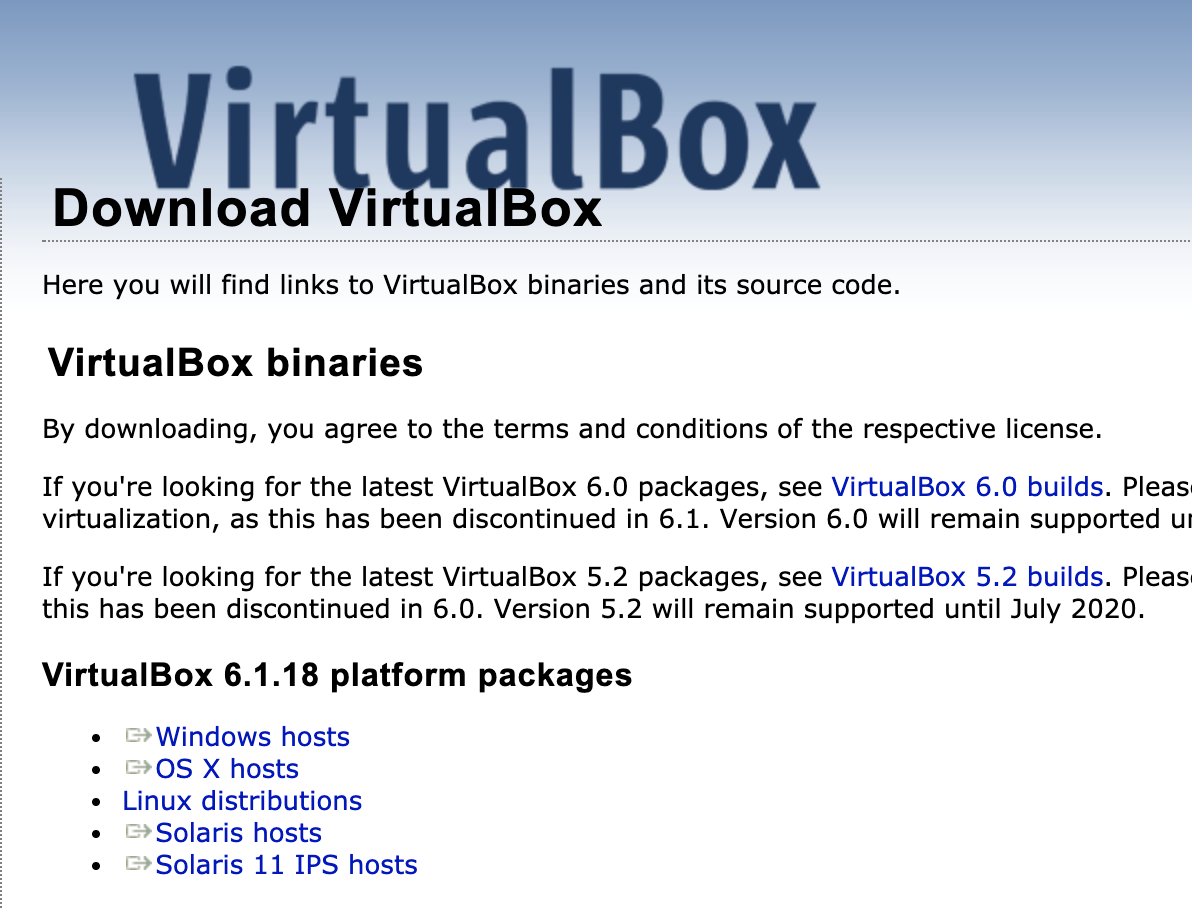
In this website, click the link corresponding to your computer's operating system to download to your computer.
Install the downloaded Virtualbox VM application on your computer.
- NOTE: You may be required to allow authorization to run this program, select to install devices (if prompted) and to restart your computer after installation.
Click the following link to download the zipped (compressed) Ubuntu Distribution file to your computer: Ubuntu Virtualbox VM
- NOTE: This file is approximately 5GB in size and might take a while to download.
VMware alternative: If you are using VMware workstation, download this zipped (compressed) Ubuntu Distribution file instead: Ubuntu VMware VM
The username is ubuntu and the password is ubuntu. The root password is also ubuntu
Open a File Manager application and navigate to directory that the Ubuntu.zip file was downloaded (eg. Downloads).
Unzip the downloaded zip file (In MS Windows: Right click and Select "Extract All" )
- NOTE: The contents of this zipped file should appear in another file manager window.
Navigate to the folder containing the extracted zipped files and double-click the file called Ubuntu.vbox to launch the Ubuntu VM.
- NOTE: By double-clicking on this file (even if the VirtualBox application is not running) it will launch the VirtualBox application and start the Ubuntu virtual machine.
For Mac Users: If you experience an error message regarding the Kernel extension, click on System Preferences, select Security and Privacy and click to allow Oracle service extensions to run on your machine.
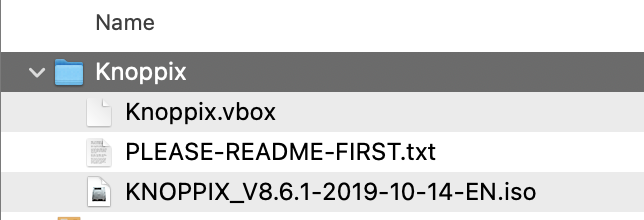
Knoppix VM file contained in the zipped file. Double-click Knoppix.vbox file to launch the Knoppix Live Linux Distribution.
- If you have difficulty running Knoppix on your home machine/laptop you may ask your Learning Centre ULG leaders for additional help in troubleshooting why Knoppix is not working on your home machine/laptop.
If you are using MS Windows, look in the taskbar below to see if the Virtual Box application is running click to display that application window.
Click on the Start button (looks like a green arrow pointing to the right).
If prompted, click Scale or Switch to scale mode to proceed.
If using MS Windows, click the mouse on the Ubuntu screen and press ENTER to login.
Allow time for the Ubuntu Linux distribution to start. This is a graphical Linux distribution which will start-up in a desktop environment.
- NOTE: When you are prompted for a username and password use ubuntu for both.
- NOTE: If you are using MS Windows, press the RIGHT CTRL key to change to other applications by pressing ALT-TAB.
- When you want to use Graphical Linux (i.e. Ubuntu screen), click in the screen to focus and use that screen.
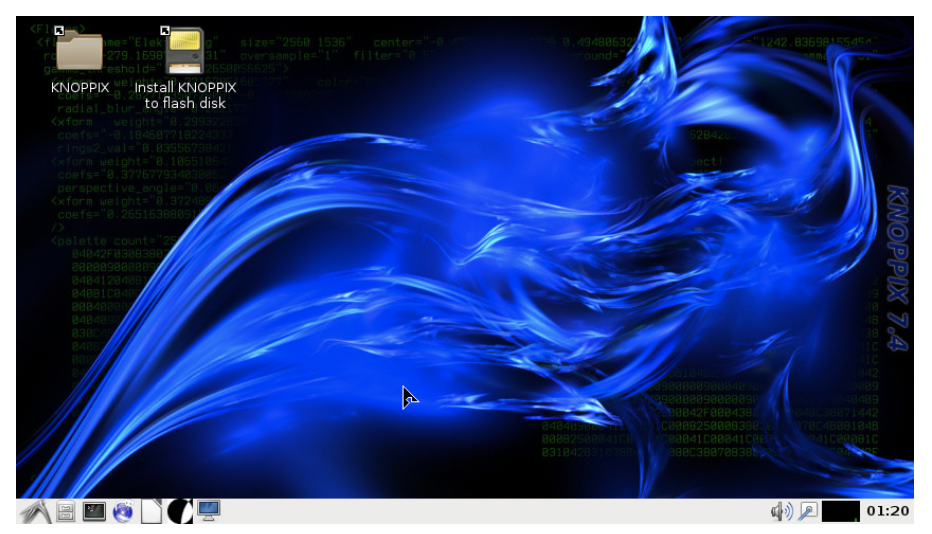
The Knoppix Linux desktop environment has a similar look as the MS Windows desktop environment. (Image licensed under cc)
- Click the Ubuntu Start button (refer to left icon in diagram below). In the Ubuntu, select System Tools

In the system tools menu, and select Terminal to launch a terminal application.
- You can drag the Terminal terminal window from the bottom-right corner to increase the window size, or double click on the window title.
In the bash shell, issue the following Linux command:
whoami
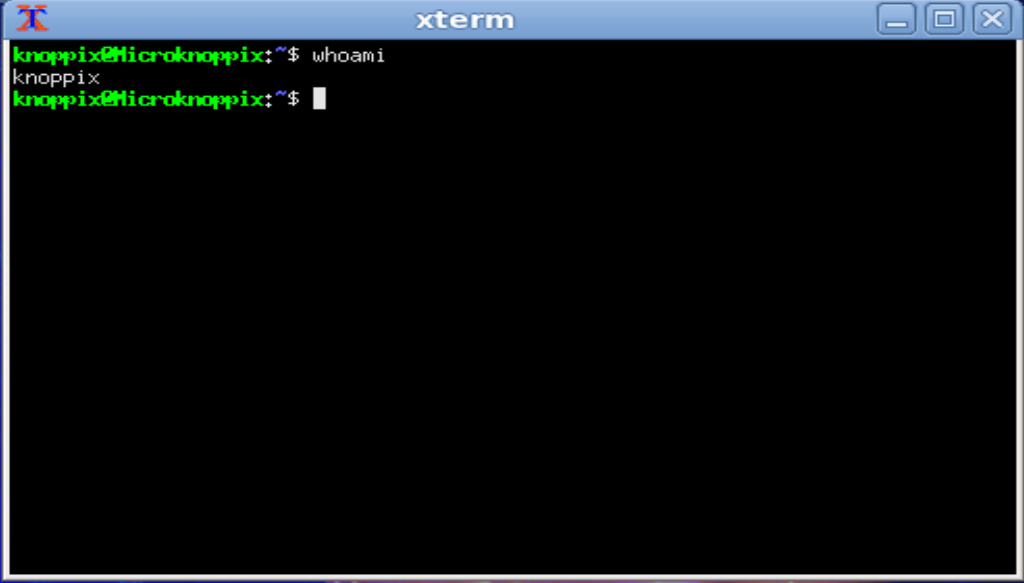
- What is the name of your Ubuntu Linux account?
- Let's test this out by using the ssh command to connect to your Matrix account.
- Your Ubuntu virtual machine uses your host computer's operating system which is already connected to Seneca's GlobalProtect VPN.
- Issue the following Linux command to connect to your Matrix account:
ssh YourSenecaUsername@matrix.senecacollege.ca
Enter yes to share your public key.
When prompted, enter your password (remember that password does not "echo-back").
- Were you able to connect to your Matrix account?
Confirm that you are in your home directory on your Matrix account.
Use a text editor (nano or vi) to create a file in your current directory called myvm.txt and enter the following text displayed below. Make certain there are ONLY 3 lines:
This is line 1
This is line 2
This is line 3
Save editing changes and exit the text editor.
Confirm that you created this file and confirm that the contents of this file are correct.
- Let's run a shell script to check that you created the myvm.txt file (with correct file contents) in your home directory.
Enter the following command:
~uli101/week7-check-1
- If you encounter errors, make corrections and then re-run the checking script until you receive a congratulations message, and proceed to the next step.
- Issue the following Linux command to terminate your Matrix session:
exit - Remain in the Terminal terminal window when performing INVESTIGATION 2.
In the next investigation, you will learn to work in a graphical Linux environment. You will also run several open-source application within the Ubuntu graphical environment.
Investigation 2: Using The Graphical Ubuntu VM
Let's learn to run open-source applications on your graphical Ubuntu Linux distribution. But first, let's download and run a shell script that will display dialog boxes in your graphical Ubuntu VM.
Perform the Following Steps:
Make certain that you are running your Ubuntu Linux Live virtual Machine (refer to step #7 in [1] )
- Although you will be learning to create and run shell scripts (near the end of this course) in your Matrix server , those scripts will only run in a command-line environment.
- Since you are running a graphical Knoppix Linux distribution on your computer, you can run scripts graphically (including the use of dialog boxes for input, output, etc.).
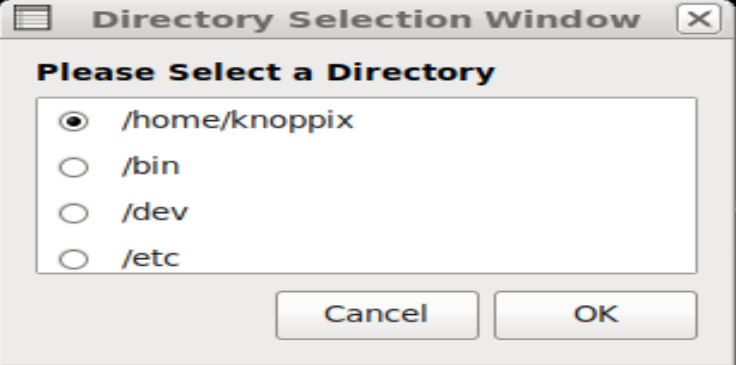
Graphical input dialog box. ^
- Make certain that you are in a Terminal terminal window (but NOT connected to your Matrix account).
- Issue the following command to download a shell script called week7-demo-1 from the Internet:
wget https://wiki.cdot.senecacollege.ca/uli101/files/week7-demo-1
- Issue the ls command to confirm that the file called week7-demo-1 has been downloaded to your current directory.
- Issue the following to run this shell script:
bash week7-demo-1
In the dialog box, click to select the /home/ubuntu directory and click OK.
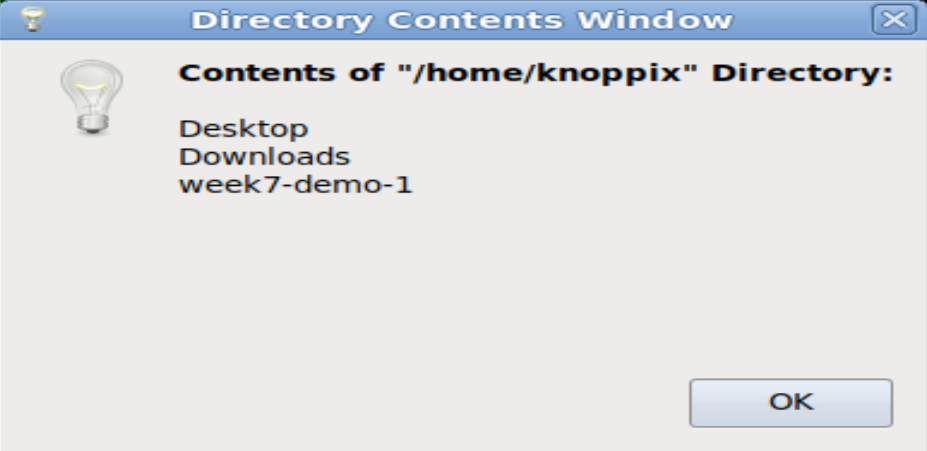
- What did you notice?
Issue the following Linux command:
ls -l week7-demo-1
- Notice there are NO execute permissions for this shell script file. That is why we have to issue the bash command followed by the shell script file pathname (as an argument) to run the shell script.
- Let's add execute permissions so we can run this command by name (i.e. without using the bash command).
- Issue the following command to add execute permissions for everyone for the week7-demo-1 file:
chmod +x week7-demo-1
- FYI: This method is a quick method of adding execute permissions for the owner, same group members and others.
- Issue the ls -l command for this file to confirm execution permissions were properly added.
- Issue the following:
./week7-demo-1
Did the shell script run?
NOTE: The shell script uses the zenity command to create dialog boxes. Although you may need to install this application in other Linux distributions, it is automatically included with the Knoppix distribution. We don't learn about the zenity command in this course, but here is a link to some simple examples using this command in case you are interested: How to Use Zenity
REMEMBER: You CANNOT run this graphical shell script on your Matrix server, since Matrix is only a COMMAND-LINE environment and NOT a graphical environment.
- Issue the Linux command:
exitto close the Konsole terminal window. - Use the Knoppix start menu and search the Internet submenu to launch the firefox web-browser.
- In the web-browser, go to the Google website and perform a Net-search on the Knoppix wiki.
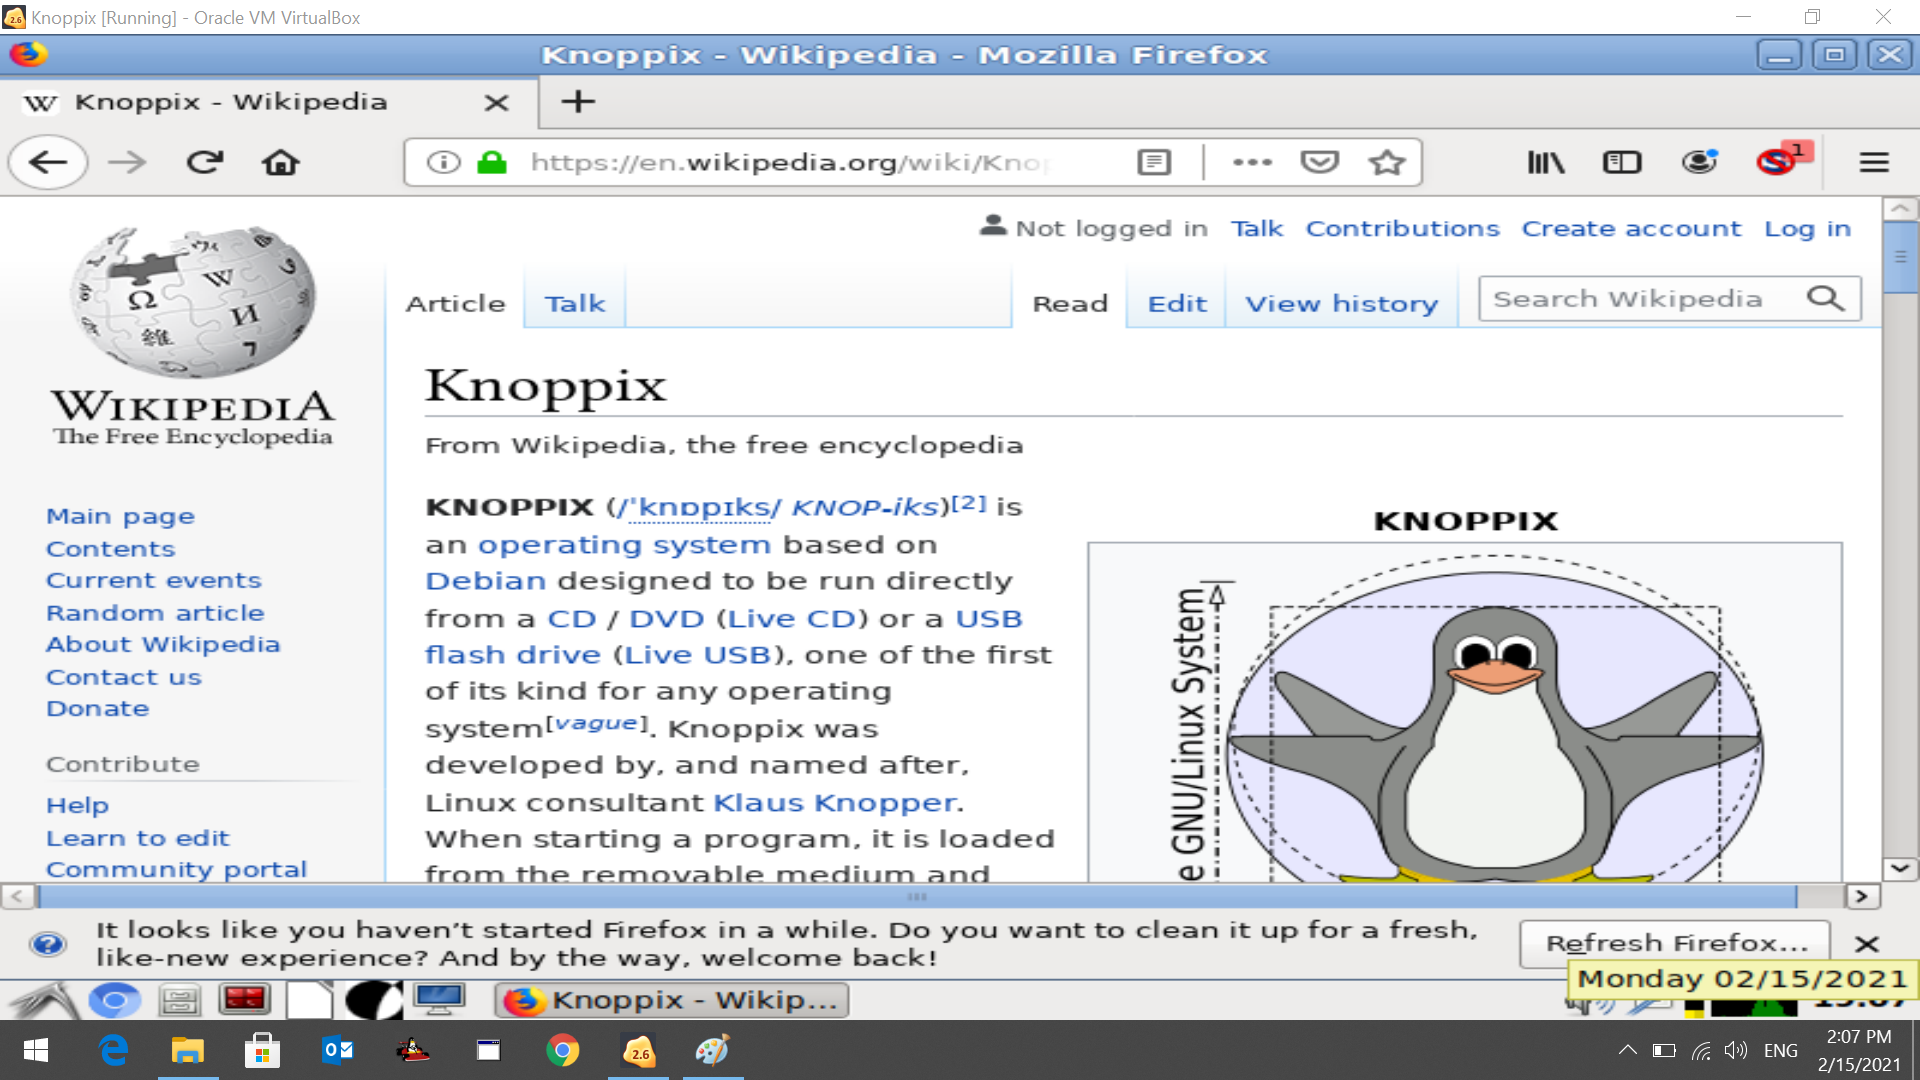
- When finished browsing the Knoppix WIKI, close the Firefox web-browser.
- Use the Knoppix start menu to select Office and then select LibreOffice - Writer to launch a word processing application.
- NOTE: Libre office is a free open-source suite of productivity tools for creating documents, spreadsheets and slide presentations.
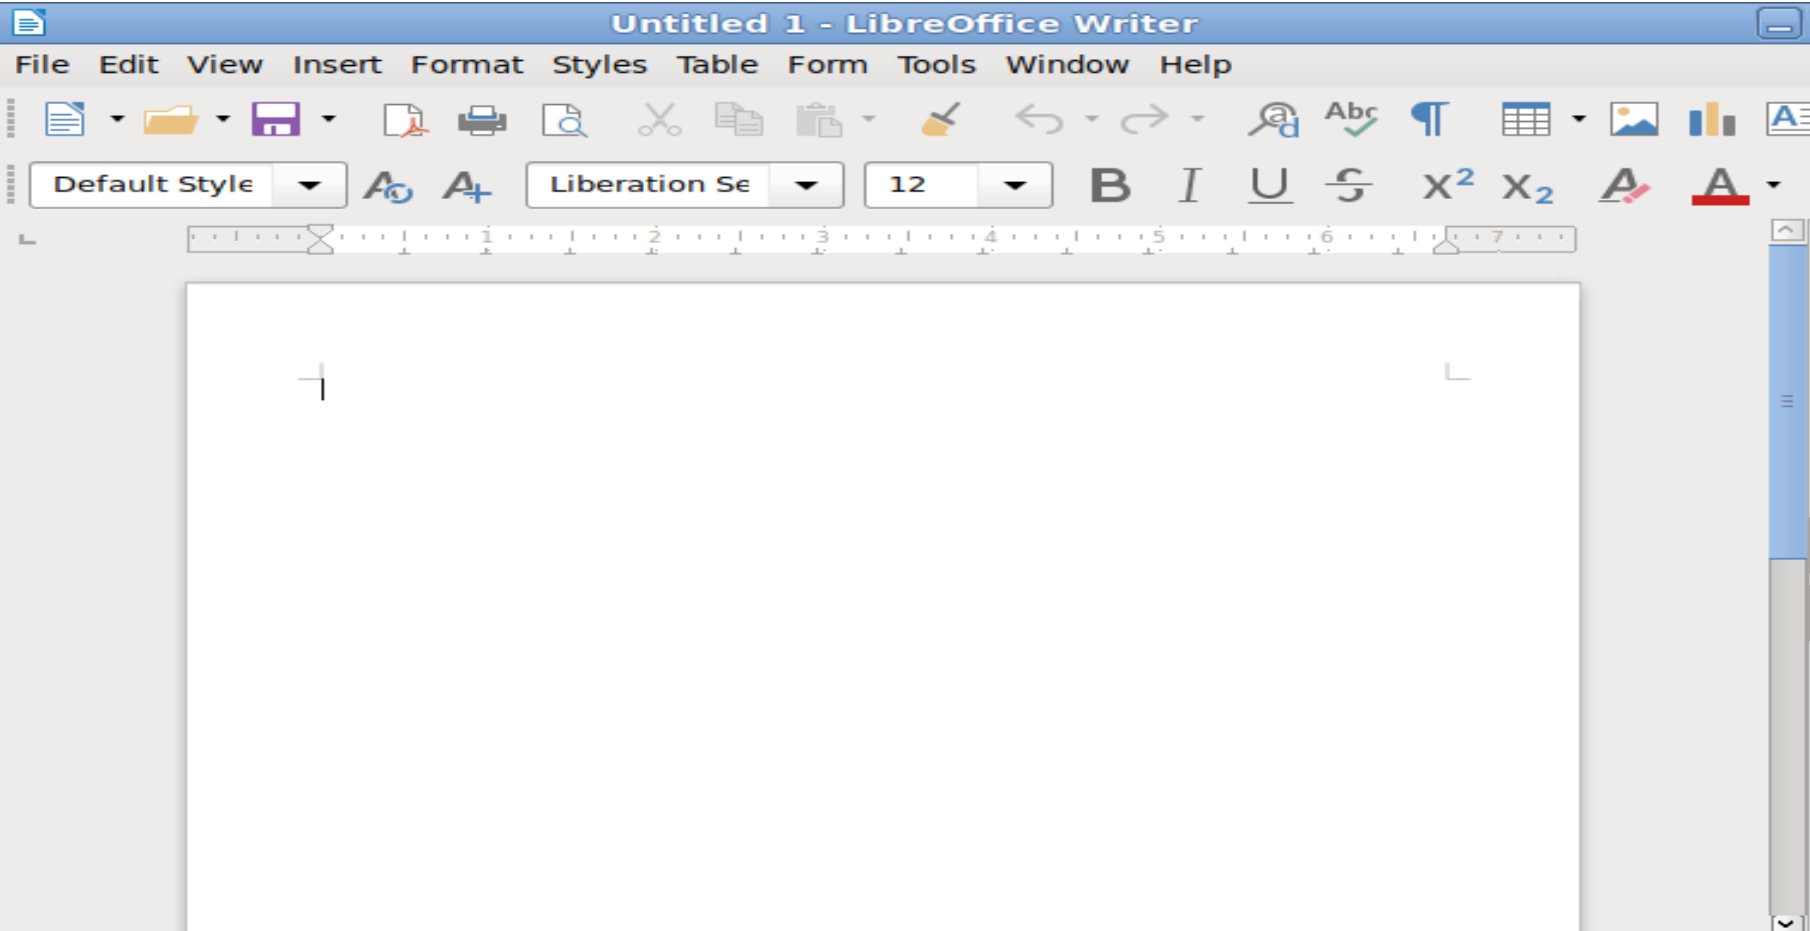
Create a new document, type in a paragraph and then save changes to the file mydoc to your home directory, and exit the Libreoffice word processing document.
Use the Knoppix start menu to select logout, then select shutdown to terminate your Knoppix Linux Live session.
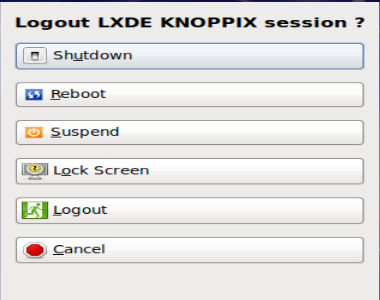
Press ENTER when it indicates to Remove your CD.
- NOTE: Although you are NOT using a physical CD, this step is required to shut-down your Knoppix session and close your VirtualBox application.
Launch a new Knoppix Linux Live session (INVESTIGATION 1, step #7).
Use the Knoppix start menu to launch a graphical file manager (Hint: Accessories -> Files).
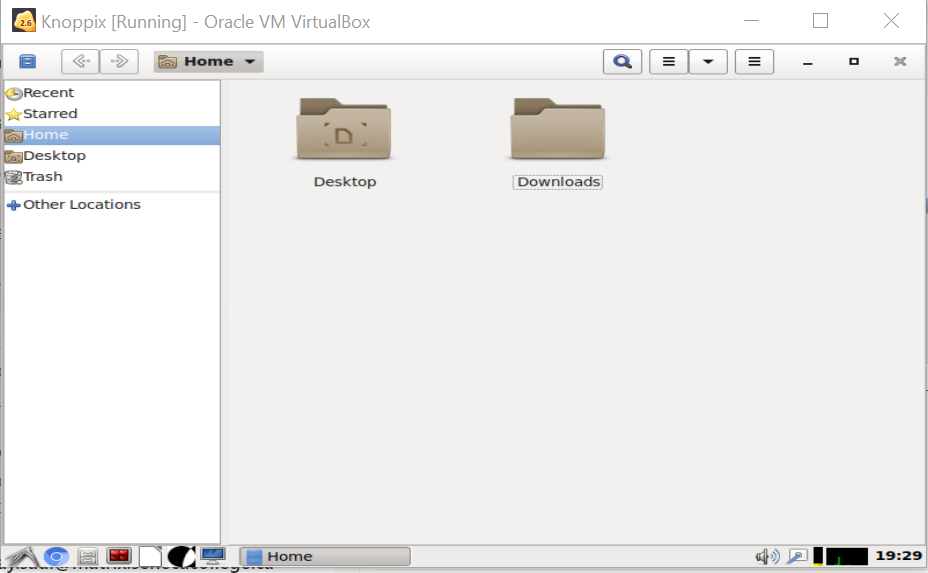
In the file manager, search for your word processing document file and your downloaded shell script that were contained on your home directory.
- Does your word processing document or your downloaded shell script exist? If not, why?
Open the Knoppix start menu, select games and try running a few games (a few recommendations are: Frozen Bubble, and Extreme Tux Racer).
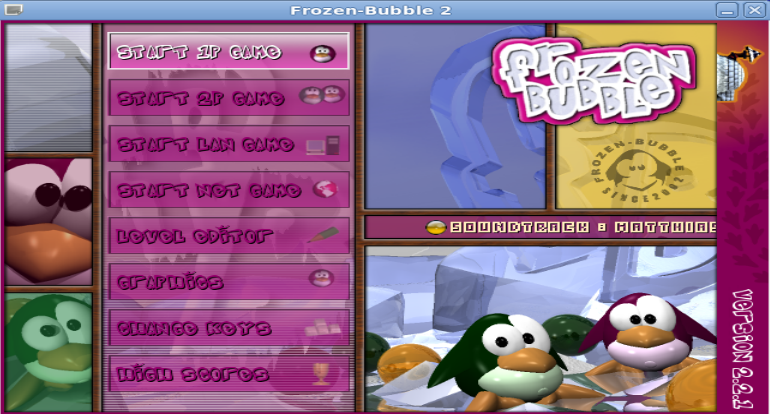
The Frozen-Bubble arcade game. ^
- Now that you have had an opportunity to use your Knoppix Linux Live distribution, let's shutdown the VM and move onto the practice questions at the bottom of this tutorial.
- Open the Knoppix start menu and select logout and shutdown to end your Knoppix Live session.
Linux Practice Questions
The purpose of this section is to obtain extra practice to help with quizzes, your midterm, and your final exam.
Here is a link to the MS Word Document of ALL of the questions displayed below but with extra room to answer on the document to simulate a quiz: Week 7 Practice
Your instructor may take-up these questions during class. It is up to the student to attend classes in order to obtain the answers to the following questions. Your instructor will NOT provide these answers in any other form (eg. e-mail, etc).
Review Questions:
- Define the term Linux Distribution.
- List and explain two advantages of installing a Linux distribution on your home computer or laptop.
- List and explain two things to consider prior to installing a Linux distribution on your home computer.
- Explain why installing Multi-boot for Linux is useful for computer troubleshooting.
- Define the term Virtualization.
- List the steps to start the Knoppix Linux distribution from your home computer.
- List 4 applications that are contained in the Knoppix Linux Live distribution.
- Explain the difference between a Live Linux distribution and an installed Linux distribution.
Author: Murray Saul
License: LGPL version 3 Link: https://www.gnu.org/licenses/lgpl.html