How to set up your classroom
To use github classroom you must first create a classroom. Here is a step by step guide on how to do this.
Step 1: Create an organization
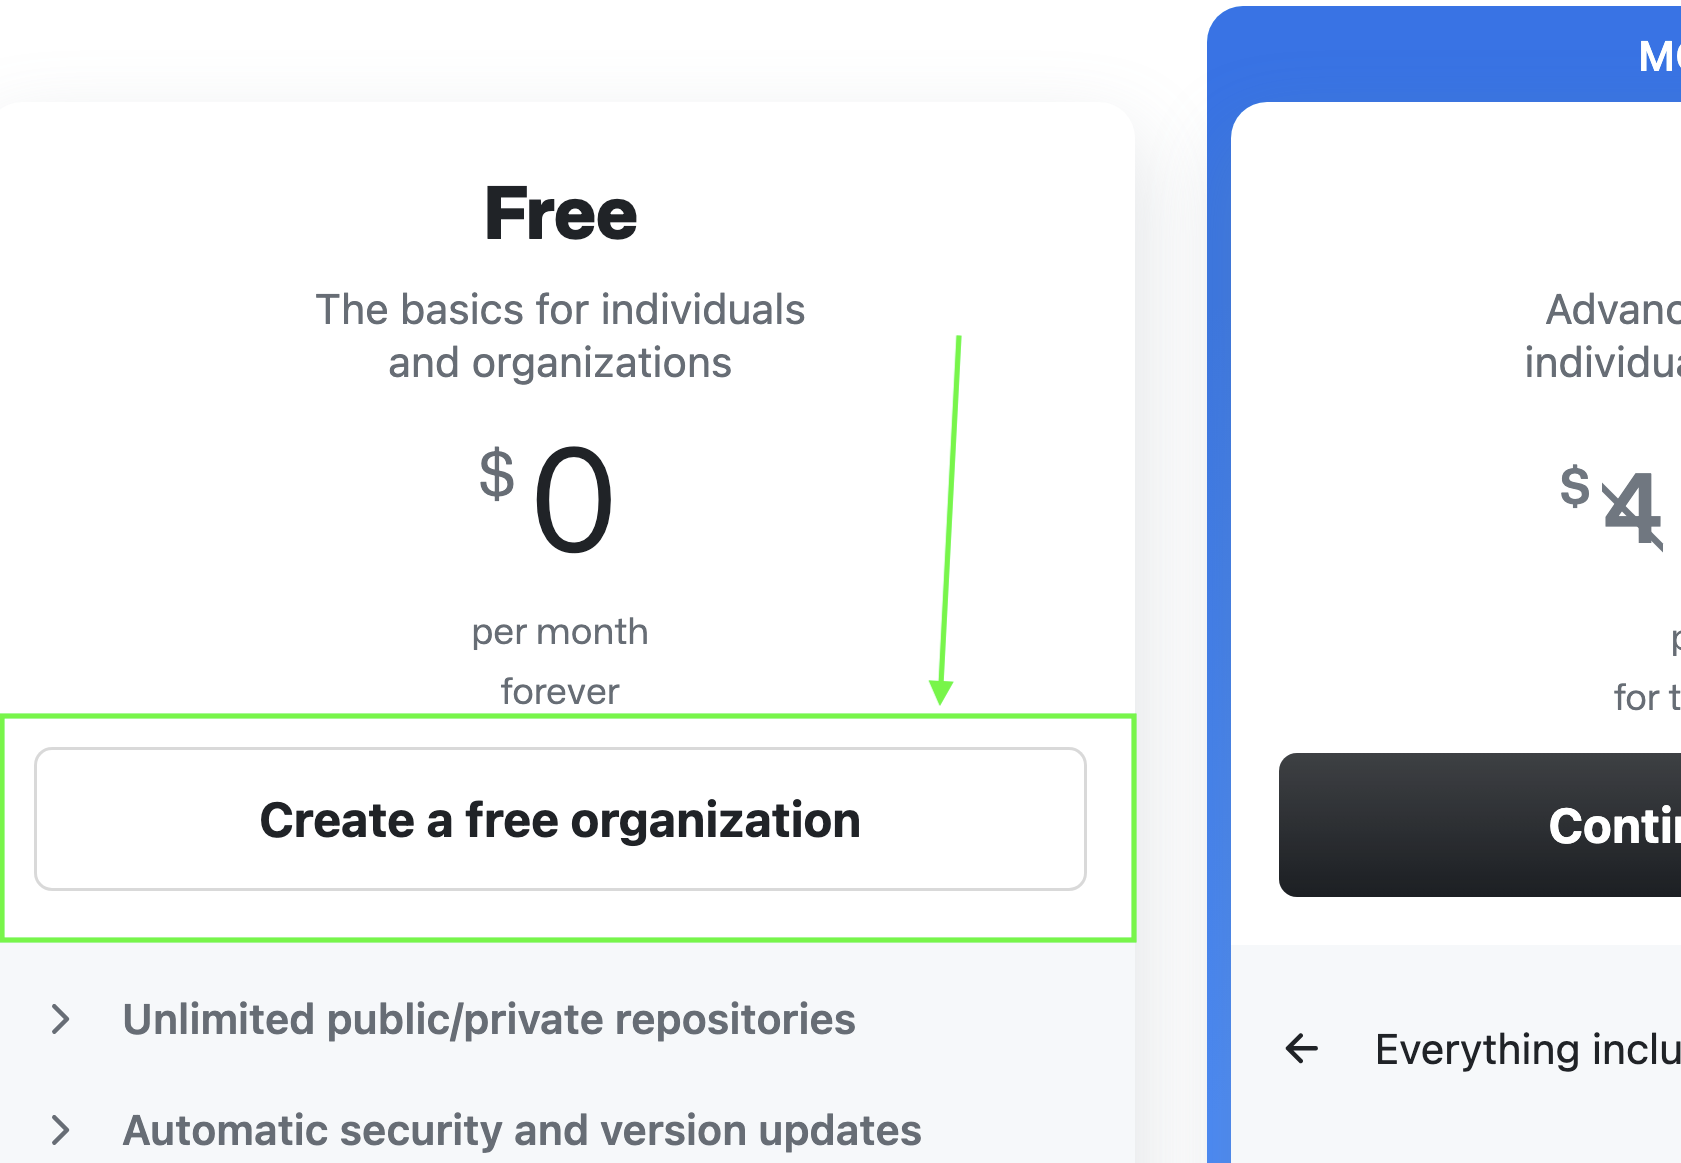
To use github classroom you must first create a github organization. Create a new Free organization. You can upgrade this with your teachers benefit.
Step 2: Upgrade your Organization (optional)
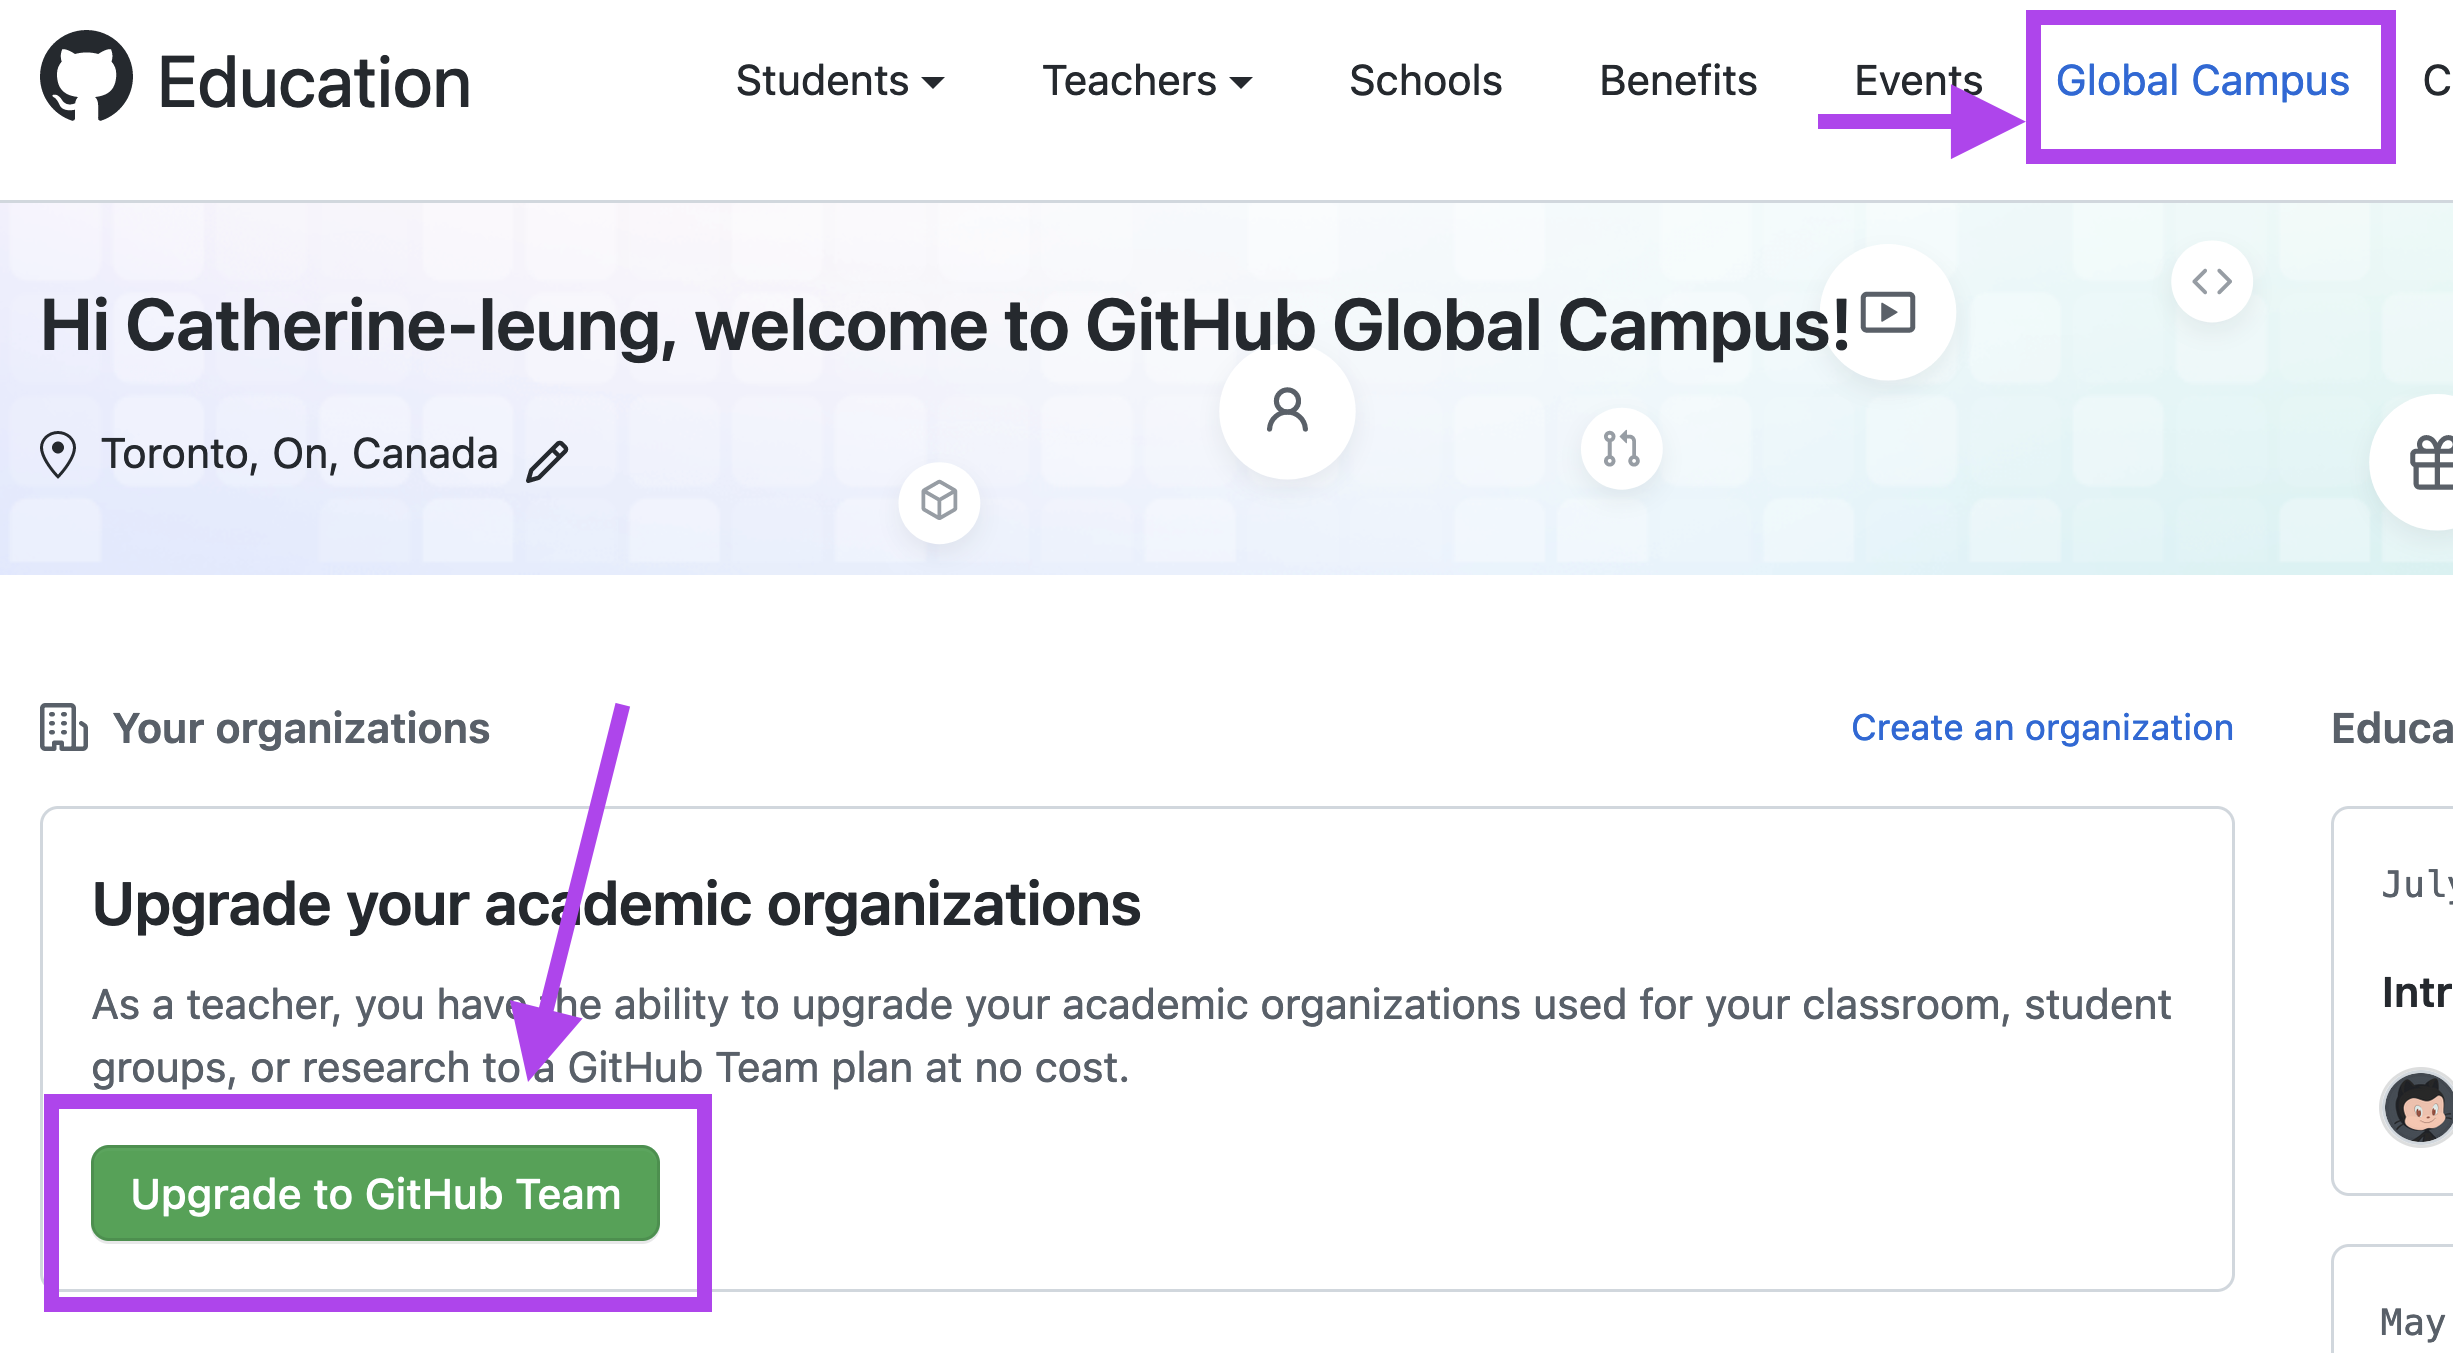
Go to https://education.github.com/globalcampus/teacher to upgrade your Organization.
Step 3: Create a New Classroom
- Go to https://classroom.github.com
- Hit the
 button
 - Pick the organization you created in step 1 from the tiles
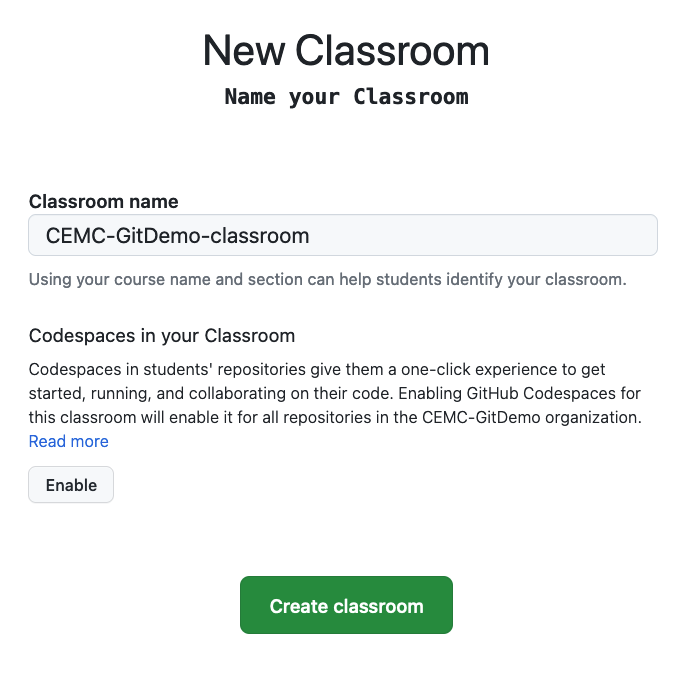
Step 4: Name your classroom and decide if you want to use Codespaces (see Codespace section of notes for details)
- Give the classroom a name
- Enable Codespaces (can also be done later if you change your mind)
Step 5: Invite your colleagues (optional)
- You can invite colleagues to join the classroom at this time... or you can do this later
Step 6: Link with your LMS or supply a your student list (optional)
- there are a number of LMS links that are available. I have not had the opportunity to try this out as the platform used at my college is unsupported.
- you can submit a CSV file with your student's information if you wish but be aware of privacy implications of this. My experience is that the CSV information was not that useful so I skip this step
Step 7: Go organization permissions
Some of the default behaviour of github organizations may not be what you want it to be. It is a good idea to go through these permission before you invite your students into the organization.
Step 8: Done...
At this point you have set up your classroom. It is linked to your github organization and it is now ready to go. The next section of these notes goes over how to use classroom to create student repositories