Lab 7 - Configuring an Apache web server in Amazon Web Services (AWS)
Overview
This week's lab will cover the following:
- Managing Linux packages and updating the system.
- Managing Linux services.
- Modifying Virtual Private Cloud (VPC) Security Groups.
- Implementing an elastic IP in AWS.
- Accessing your Web Server using a browser.
Managing Linux packages and updating the system
Installing software in Linux requires both an active Internet connection and knowledge of which package management tool to use for your distribution (or distro). Linux software and updates come from special sources hosted on other servers, known as repositories (or repos). All the major Linux distros host their own repos, though anyone can host a repository for a distribution - and many organizations do. Due to the Open Source nature of Linux, certain repos may contain specialized software that is not available in the main repository (such as EPEL - Extra Packages for Enterprise Linux); or they may contain a mirror of the main repo. Accessing these and installing software requires using your Linux distro's command line package management tool. The major ones you will encounter when you use Linux are:
- APT (Aptitude Package Manager): This is used in Debian based Linux distributions such as Ubuntu, Linux Mint, and Kali Linux.
- DNF (Dandified Yum): Which is an update of YUM (Yellowdog Updater, Modified). Both of these operate as a front end for RPM (Red Hat Package Manager). These are used in Red Hat based Linux distros.
- Pacman (Pacman Package Manager): This is used in Arch Linux, as well as a few others.
- Zypper Package Manager: This is used in OpenSUSE, which is popular for use on servers in Europe.
Since you are using Ubuntu, you will be using APT to install software and update the system.
Updating www and installing Apache
Start your www instance in the AWS Learner Lab, and connect to it using SSH. Once you have logged in, issue the following command to update your system.
sudo apt update && sudo apt upgrade
Now that your system is up to date it's time to install Apache, which is the software that will be powering your web server. In Ubuntu, the Apache package is called apache2. Additionally, you can use apt with the -y option to auto assume yes. This can save a little time when you know you want to install the software or updates.
sudo apt -y install apache2
Managing Linux services
Normally the next thing you would want to do is start the service using the systemctl command, then confirm it is running. However, when you installed Apache2 this was automatically done. It's still a good idea to confirm the service is running. The systemctl command always requires elevated privileges, and follows the same format:
- start: Starts the service.
- stop: Stops the service.
- restart: Restarts the service.
- status: Displays information about the current status of the service, such as whether is running or not.
- enable: Configures the service to start automatically on boot.
- disable: Prevents the service from starting automatically on boot.
This isn't a complete list, but it covers all of the things you will require for most system administration tasks. Using what you have just learned, check to see if the apache2 service is running.
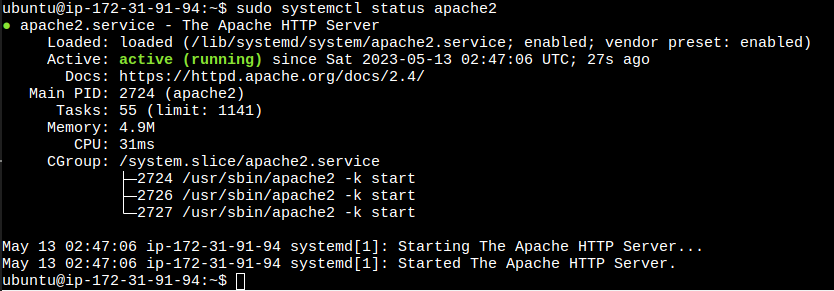
sudo systemctl status apache2
You should see the following output:
Accessing your Apache server through web browser
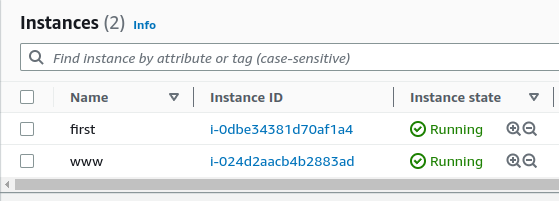
It's time to test to see if everything's working properly. Browse to your instance details in EC2 by clicking on Instances, then the Instance ID next to your www instance (screenshot below).
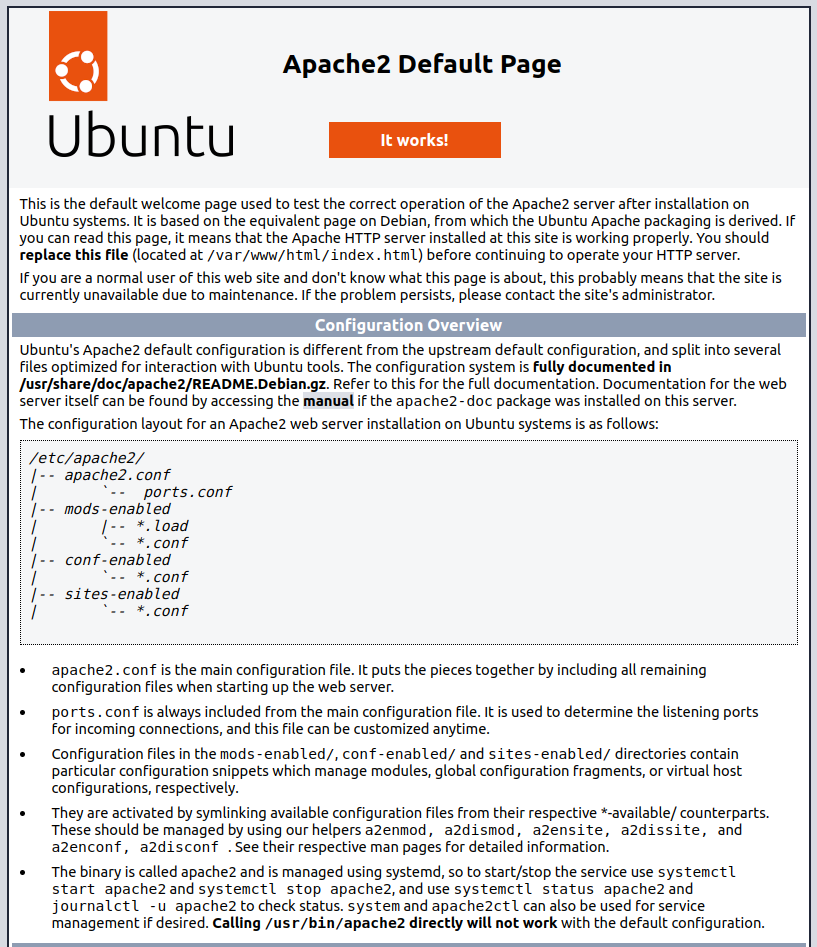
Click open address beside your Public IPv4 address. You should see the default Apache test page (screenshot below). If you do not, edit your url and change https:// to http://. You will learn how to configure https in lab 8. Accessing your server through http will be fine until then.
Implementing an elastic IP in AWS
When you are configuring network resources such as (routers, network printers or servers) you want them to have a static IP, which doesn't change. Currently our AWS instance pulls a new IP from Amazon's DHCP server every time it boots up. Fortunately, you can configure a static IP through what AWS calls an Elastic IP. These cost money when they're not in use, and will be the biggest expense item from our free $50 credits this semester (since your instance will be offline unless you are working on things for this course). To obtain an Elastic IP in EC2, click on Elastic IPs under Network & Security:
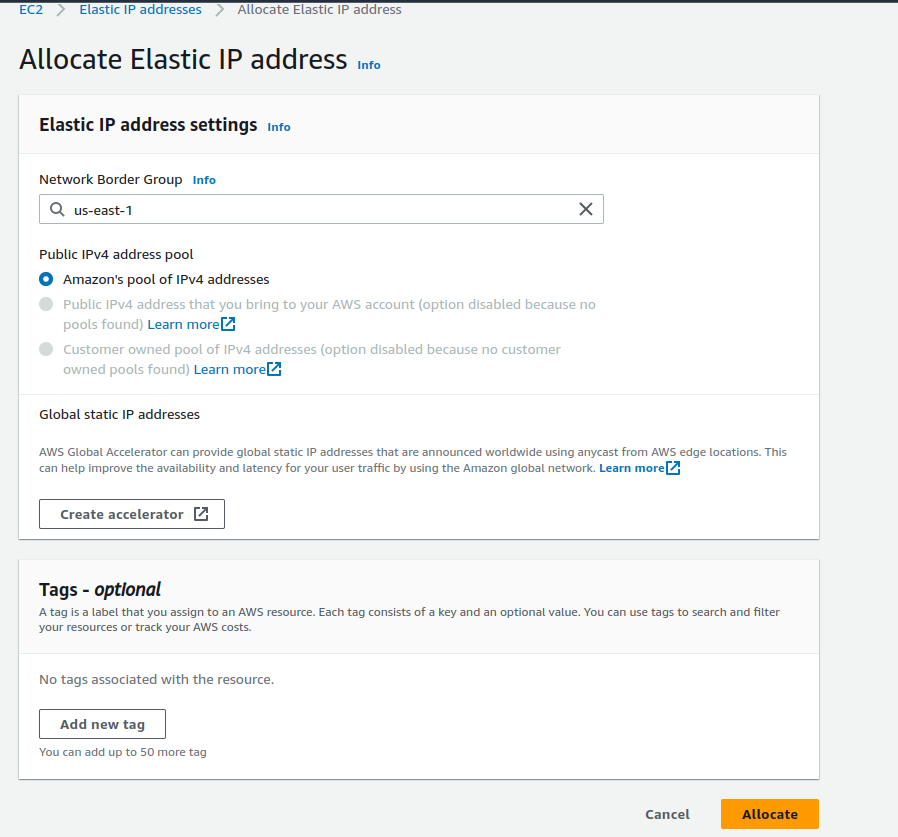
Then click Allocate Elastic IP address in the top right corner. On the bottom of the new screen, leave the rest of the defaults and click Allocate (screenshot below).
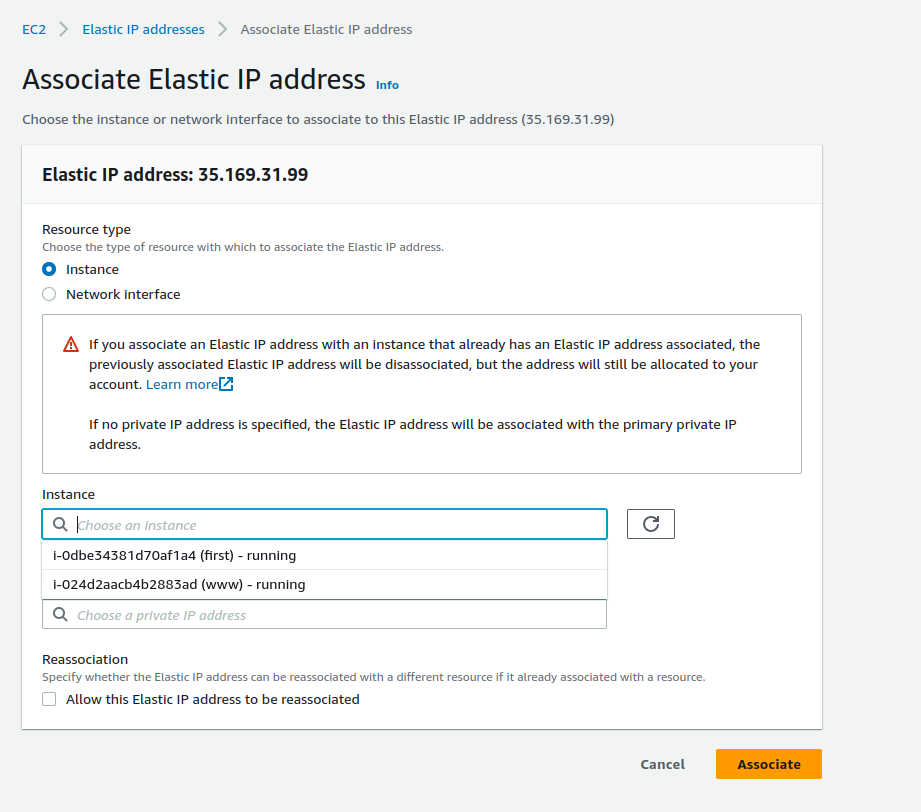
Now you've reserved your Elastic IP. It is yours for as long as you want (which will be the entire semester). However, you need to associate it with the instance you want to access it through (in this case, www). To do that check the box beside your Elastic IP, then click the Actions drop down and click Associate Elastic IP address.
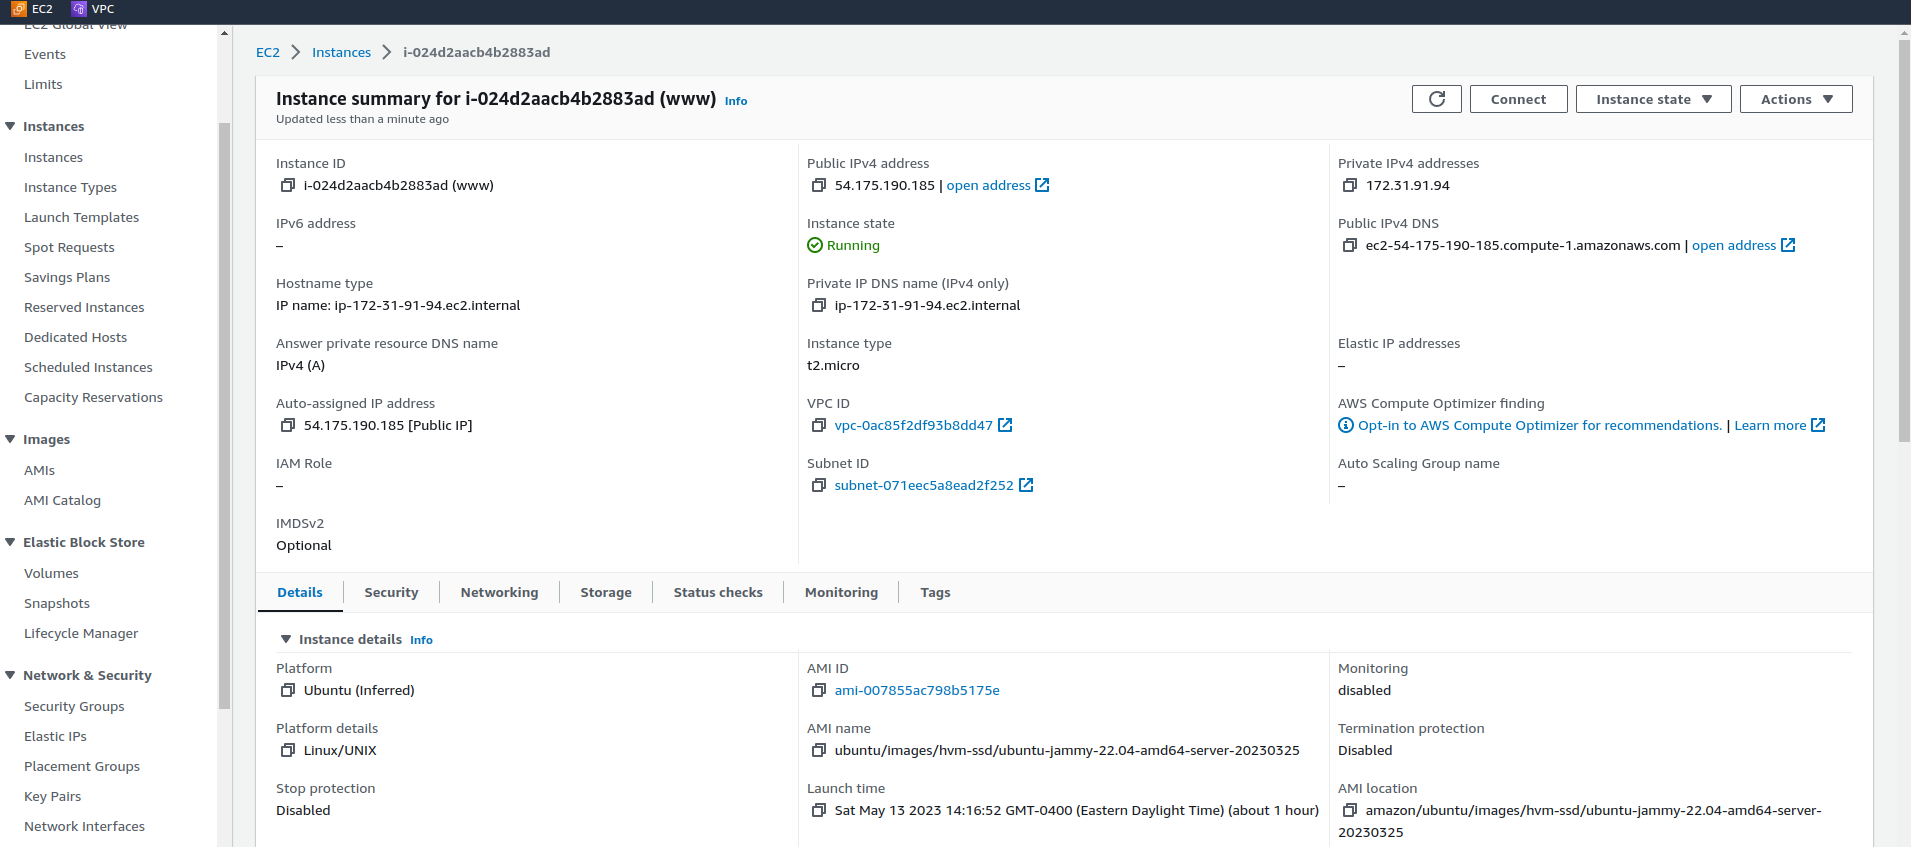
Next, click on the Instance box and select the instance with (www) in the name (screenshot below), and click Associate in the bottom right corner.
Now you can access your www instance from anywhere by using the same IP address. You should write this IP down somewhere for future use. You will be mapping a domain name to it in lab 8.
Accessing your Apache server from a web browser
Open a web browser and either copy/paste, or type out your elastic IP in the address bar (make sure the url is being requested using http and not https) to confirm you can still access your Apache test page.
Lab 7 Sign-Off (Show Instructor)
Show your professor the following:
- Your Elastic IP
- Accessing your Apache2 Ubuntu Default Page through a web browser using http
Exploration Questions
- What package manager does Ubuntu use?
- How do you find the current status of the apache2 service?
- What is an Elastic IP?